As mentioned in the main blog post, starting with the release of iVe version 3.0, in both the forensic software and mobile app, all aspects of the forensic process are now combined and presented as a vehicle dashboard. This provides a comprehensive snapshot for each vehicle being investigated and the ability to track where it is in the process.
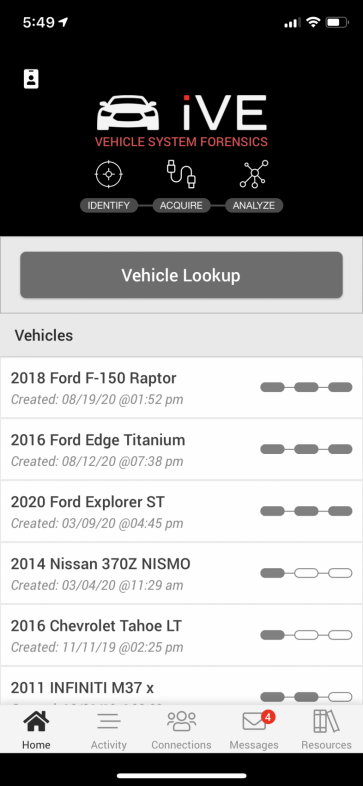
You will notice that both the software and the mobile app have been redesigned to improve the way in which vehicles are organized and viewed at a glance. The new dashboard shares many common elements across the two platforms. We will first take an in-depth look at the dashboard as it appears in iVe Software.
Vehicle Dashboard (iVe Software)
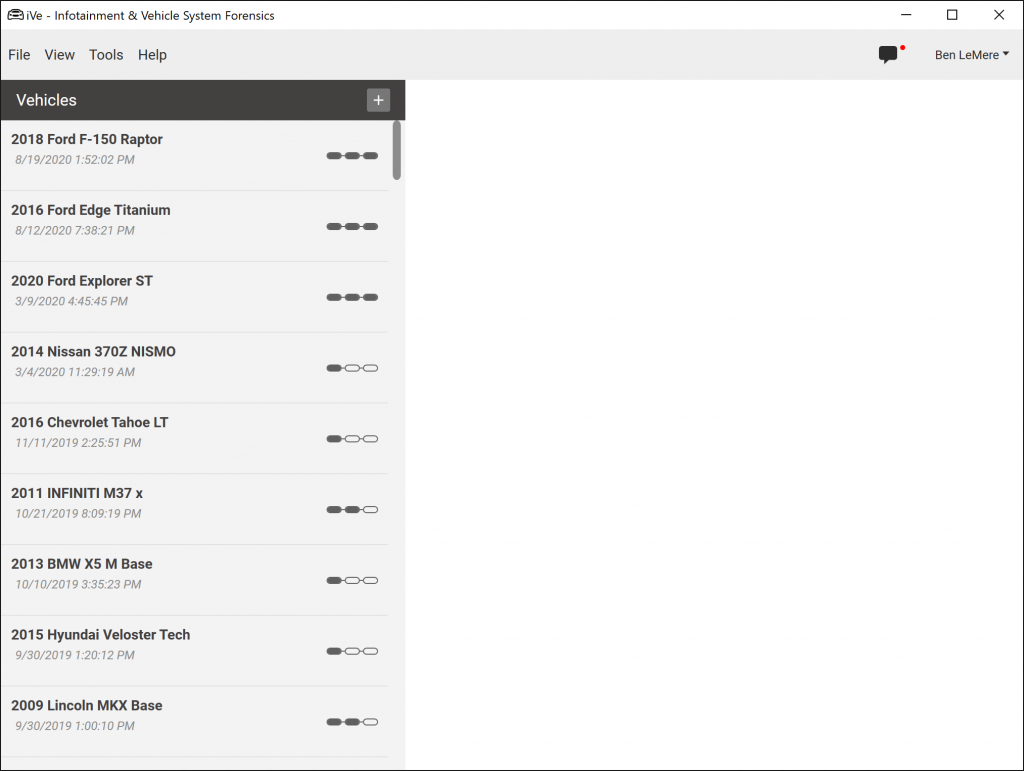
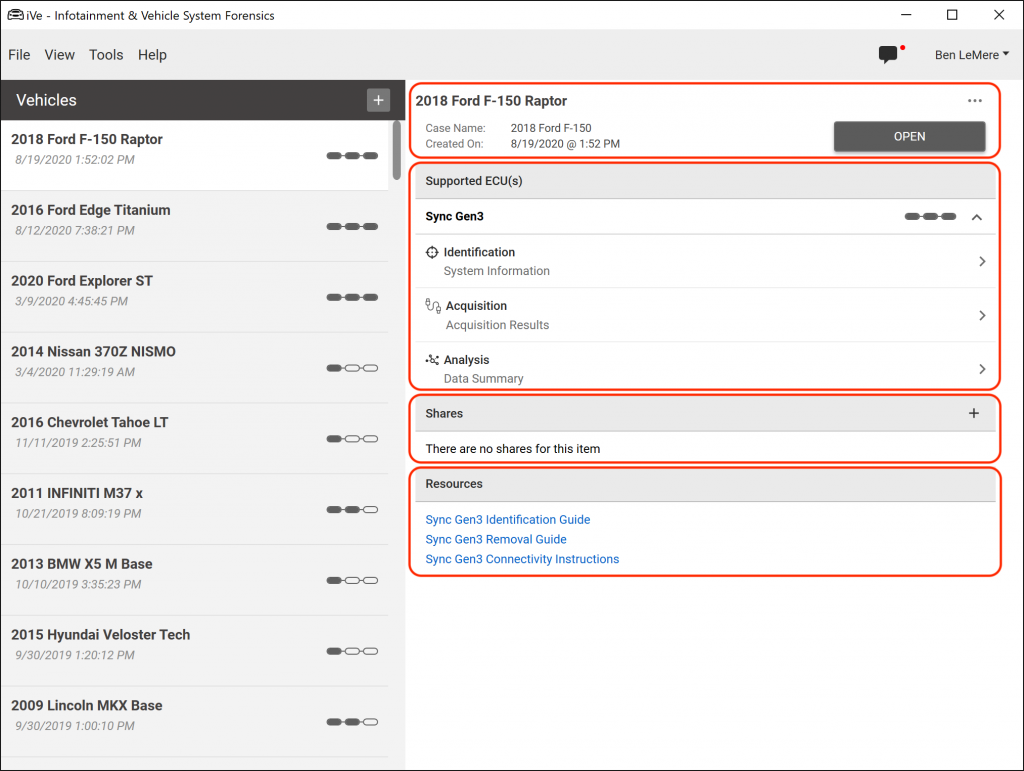
iVe displays your vehicle list on the left. Once a vehicle has been selected, its dashboard will appear on the right.
Vehicle List
The vehicle list contains all of the vehicles saved as part of your iVe account, sorted by most recent at the top. The list includes all vehicles on which you have taken some sort of action. More specifically, there are three progressive phases of action:
- Identification – You have conducted a lookup and added/saved the vehicle.
- Acquisition – You have conducted an acquisition that has successfully completed, been cancelled, or has ended due to an error.
- Analysis – You have collected data from a vehicle system, and it is available to view and share.
The three bubbles to the right of each vehicle in the list provide an indication as to what phase you have reached for that vehicle. For instance, the first bubble being filled in would indicate that you have completed the identification process.

Layout
The dashboard is divided up into four main sections.
- Header – This section contains information about the vehicle and has actions related to the entire collection.
- Supported ECU(s) – This section lists the ECU(s) that were chosen when the vehicle was saved. The phase each ECU is currently in is shown by the same bubble status icon used in the vehicle list. As each phase is completed, the next one is unlocked.
- Shares – The shares section is where you manage all aspects of sharing. From here, you can add and remove people. When you share or add someone to a vehicle, you are giving them read-only access. They will see the same dashboard that you see. However, they cannot add or remove people.
- Resources – This is where all of the resources are displayed for the vehicle and supported ECU(s). To view or share any of them, just click on the name/link.
Supported ECU(s)
Under each supported ECU there will be sections: ‘Identification,’ ‘Acquisition,’ and ‘Analysis.’ By clicking the ‘Identification’ section, you can view detailed information about the supported ECU. This is where you will find a comprehensive list of what types of data can be stored in the system, as well as how long it may take to complete an acquisition. The ‘Acquisition’ section will display the results of an acquisition. It will indicate if the acquisition was successful, failed, or cancelled. The ‘Analysis’ section shows you a summary of the data collected and has the controls for managing the iVx. iVx files contain the contents of a collection and are used to make that information available on all of your devices.
Watch this quick video to see the different sections.
Vehicle Dashboard (iVe Mobile App)
The layout for the vehicle dashboard in iVe Mobile is essentially the same as in the iVe Software. You can access a vehicle’s dashboard from either the home or activity tabs by tapping on it. If an iVx is available, you will see a file icon to the right of ‘Analysis.’ Tap on ‘Analysis,’ and then open the iVx to view the contents of the collection.


Recent Comments